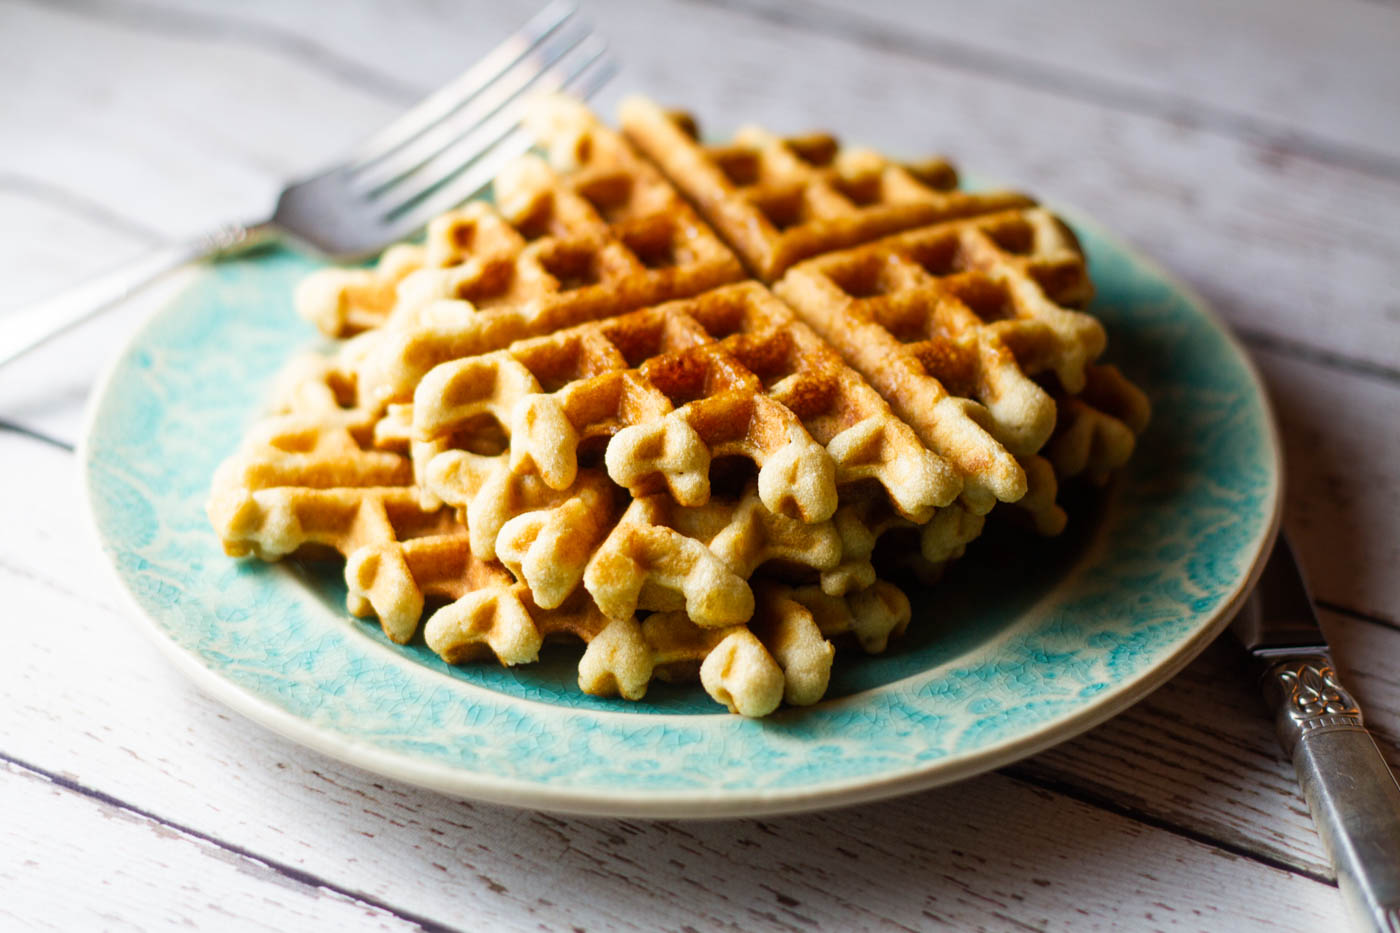
When I was growing up in New York City, my grandmother and I would take the subway from the Bronx (we lived in different parts of the Bronx) and converge at a cafe on the Upper East Side to indulge in rich, fluffy Belgian waffles. I could barely finish one, but ate two because they were that good.
I figured one day I would test my recipe for Fluffy Pancakes using almond and coconut flour in my waffle maker, and then a request for just this came in last weekend, inspiring me to put it to the test.
Most waffle makers are pretty forgiving. If you're thinking something might taste great as a waffle, try it. It might surprise you. That said, from my experience it's best that your batter contains oil to prevent it from sticking the waffle irons inside. Even if you have the deluxe non-stick edition. And it's not fun unsticking burnt food from a waffle maker. I know first hand.
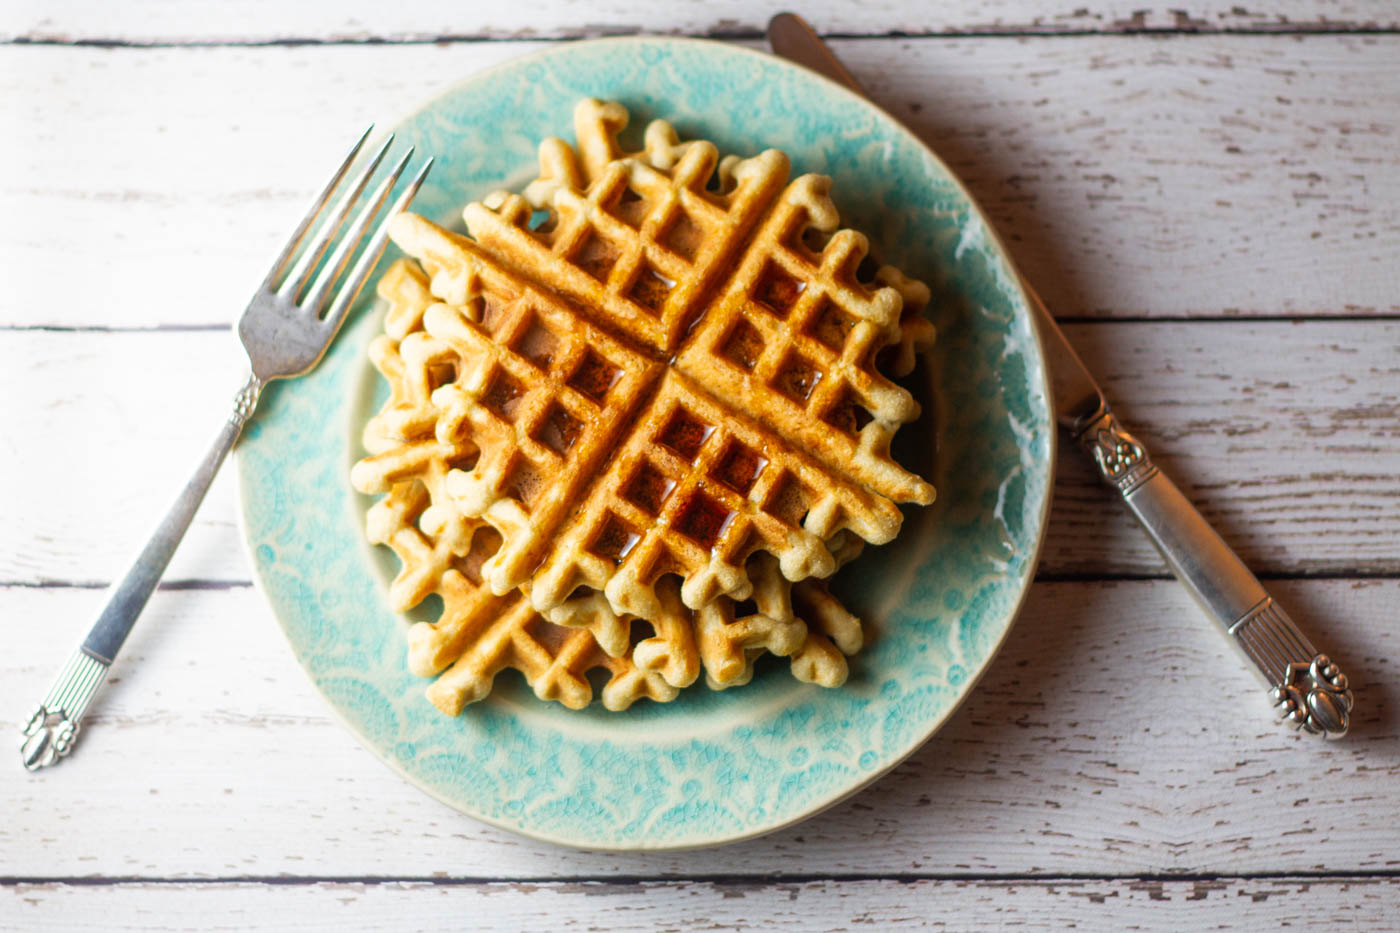
Here's my waffle maker, if you're looking for a reliable, simple, does-the-job waffle maker. It doesn't have a loud beep (which could be good or not) so you do need to keep an eye on the color change from red to green.
Dawn Sabean says
What should the batter consistency be like? Mine was super thick and even though I greased the waffle maker each time, most waffles separated with a top and bottom slightly stuck to the waffle maker. Can still use for sandwiches I think at least.
Hi Dawn, it sounds like you might be missing an ingredient. Did you add the oil? that will help prevent it from sticking as well. The sticking could also be due to the waffle iron being older or maybe try keeping the waffles in a bit longer.
Marnie Post says
These are like my bread on this diet. I make pb and j’e with them, and eat them as peanut butter toast for breakfast. Thanks so much!
Erica says
Hi Marnie, so great to hear! They are great as a sandwich as well.
Catherine says
What is a serving size?
Erica says
Hi Catherine, a serving is one waffle.
Dana L says
Do you have a waffle iron recommendation? Thank you 🙂
Erica says
Here’s my waffle maker (https://amzn.to/30gmupw) if you’re looking for a reliable, simple, does-the-job waffle maker. It doesn’t have a loud beep (which could be good or not) so you do need to keep an eye on the color change from red to green.