Marshmallows are so much fun that I had to share my rendition of them with you, along with all my tips. And of course they go great with my recipe for graham crackers and homemade chocolate when you're feeling the need for s'mores.
What I love about this recipe: the ingredient list is short and sweet. And it has the texture you expect of a marshmallow. The flavor will depend on the sweetener you use so for honey aim for a very mild-flavored, light-colored version.
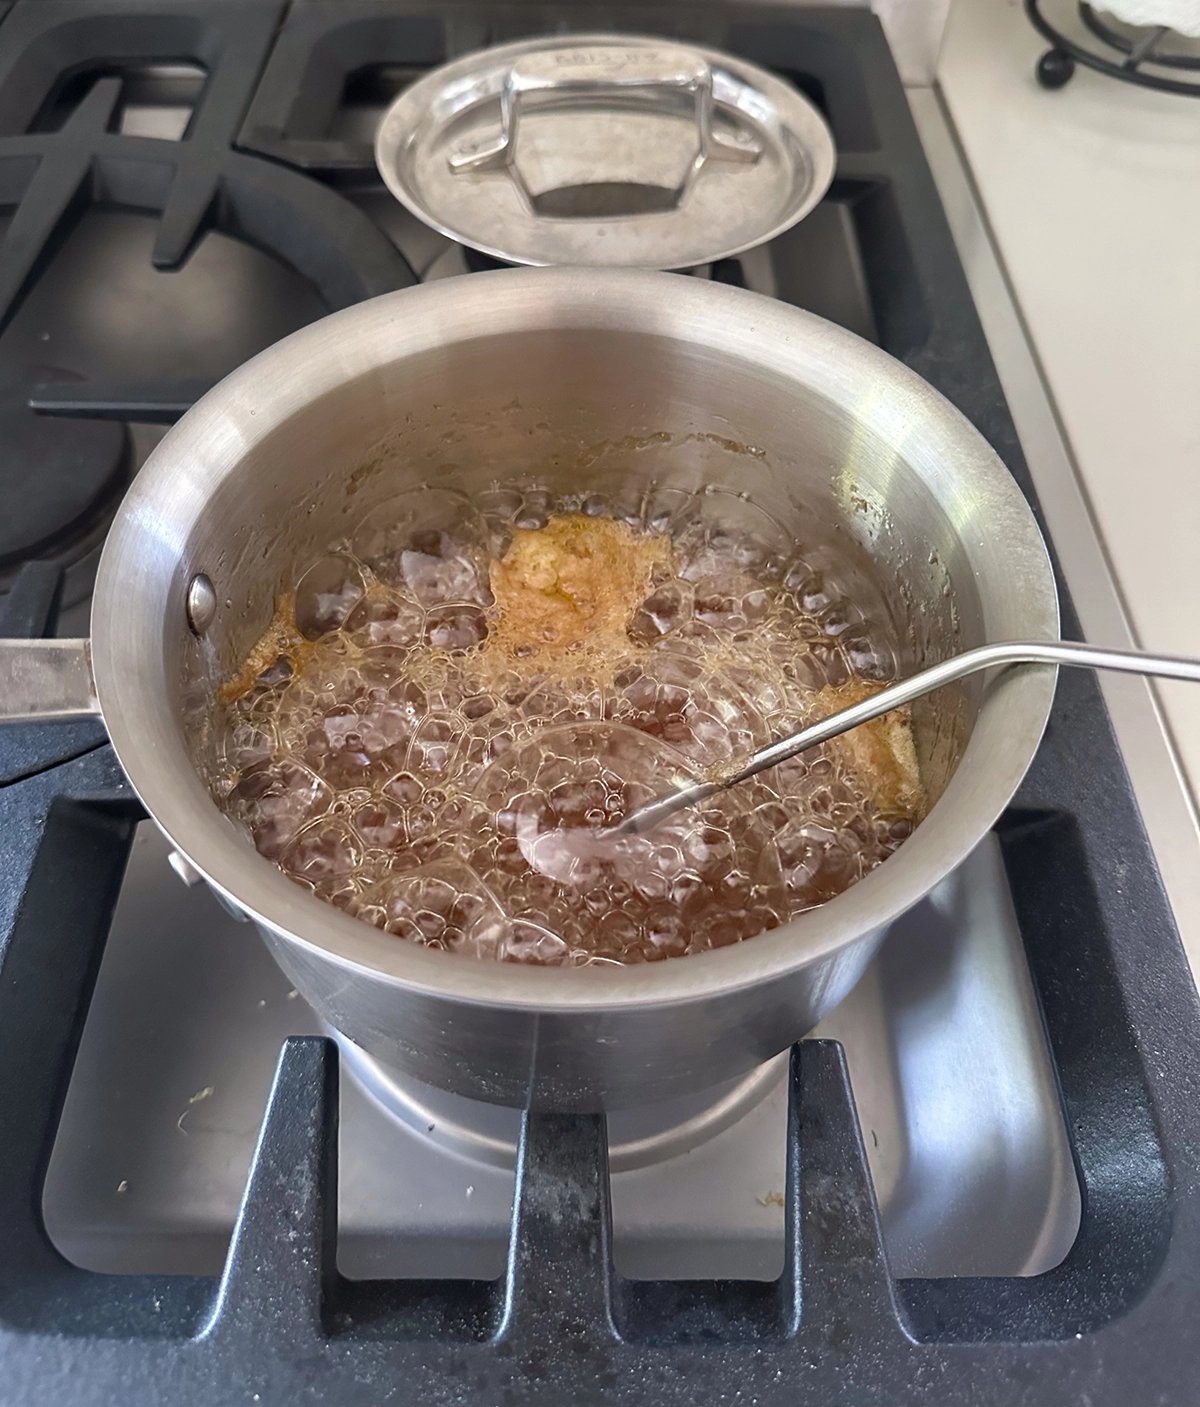
The most important step is to make sure you've boiled the honey to a high enough temperature so that it sets well. It's not hard to do though-either use a candy thermometer or let it boil for about 15 minutes, keeping it steady at relatively high heat without it foaming or boiling over.
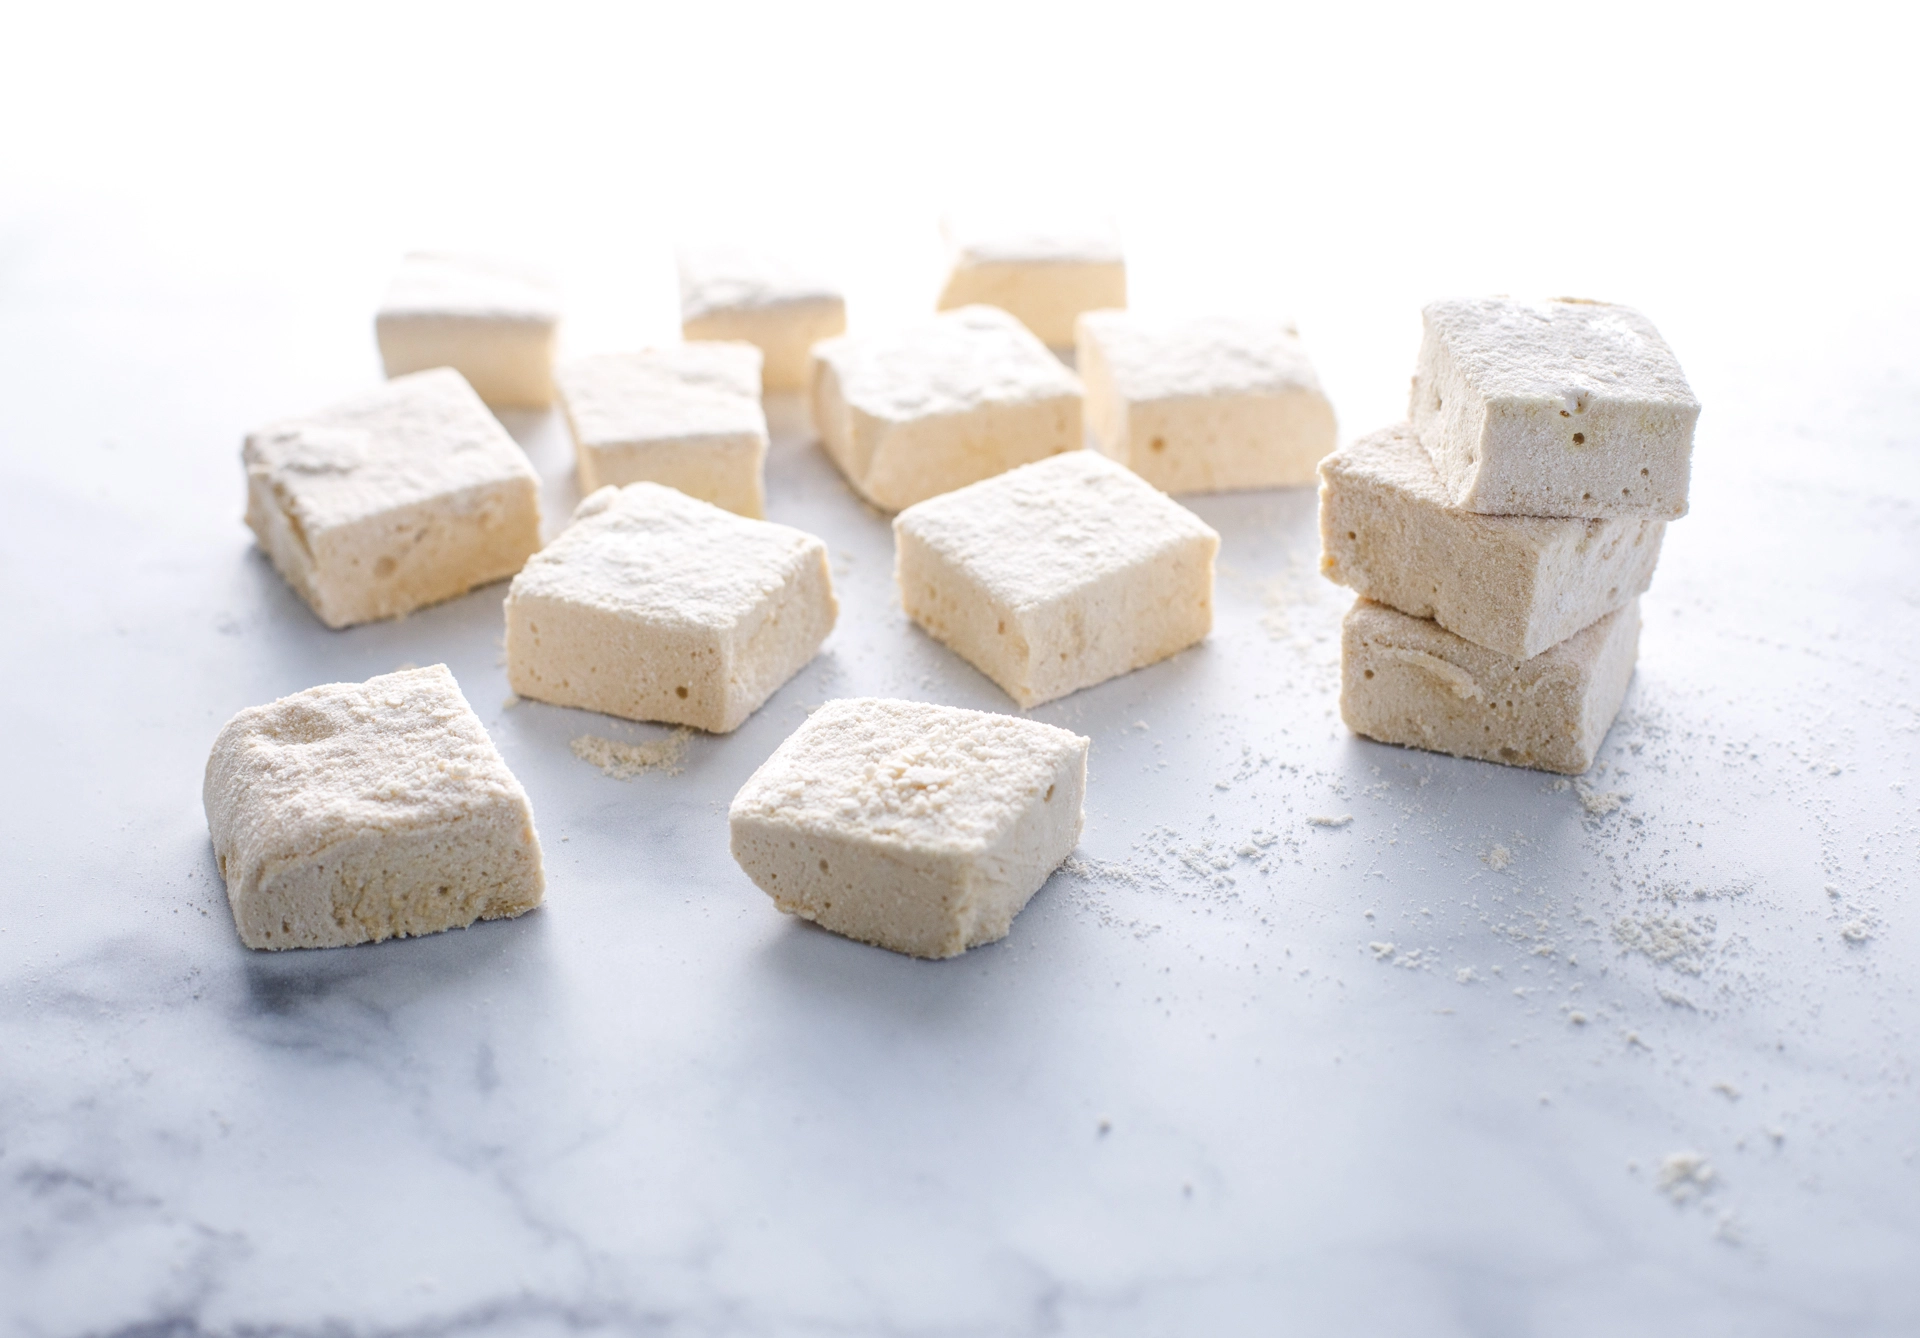
You'll definitely want parchment paper and something to dust the marshmallows with to prevent them from sticking to your fingers and everything else. Traditionally powdered sugar is used but I opt for coconut flour. You can also dust the marshmallows with a starch, such as arrowroot or tapioca, cocoa powder, ground cinnamon, or toasted shredded coconut.
You also want to plan ahead: you'll need to let the marshmallows set at room temperature for at about 6 hours before you can slice them. Enjoy!
Homemade Marshmallows
Equipment
- standing mixer with whisk attachment or electric hand mixer with whisk attachment
- parchment paper
Ingredients
- 1 cup water warm
- 3 tablespoons gelatin Knox or other unflavored gelatin
- 1 cup raw honey light color, mild-flavored; or use maple syrup
- 1 teaspoon vanilla extract
For dusting the marshmallows
- ½ cup coconut flour or a starch such as arrow root, tapioca, or powdered sweetener; or cacao powder or toasted shredded coconut
Instructions
- Line an 8 inch x 8 inch baking pan with parchment paper, covering the sides and the bottom.
- Place the gelatin in the bowl of a standing mixer with a whisk attachment (or hand mixer).
- Pour ½ cup of the water over the gelatin and put it aside for a few minutes to absorb the water.
- Add the ½ cup of the remaining water and the honey to a saucepan and place it on a medium heat.
- Bring to a steady boil without letting it foam over the saucepan. Boil the honey mixture for about 15 minutes, or use a candy thermometer to bring it to about 240℉.
- Slowly pour the hot honey mixture over the gelatin and then add the vanilla extract.
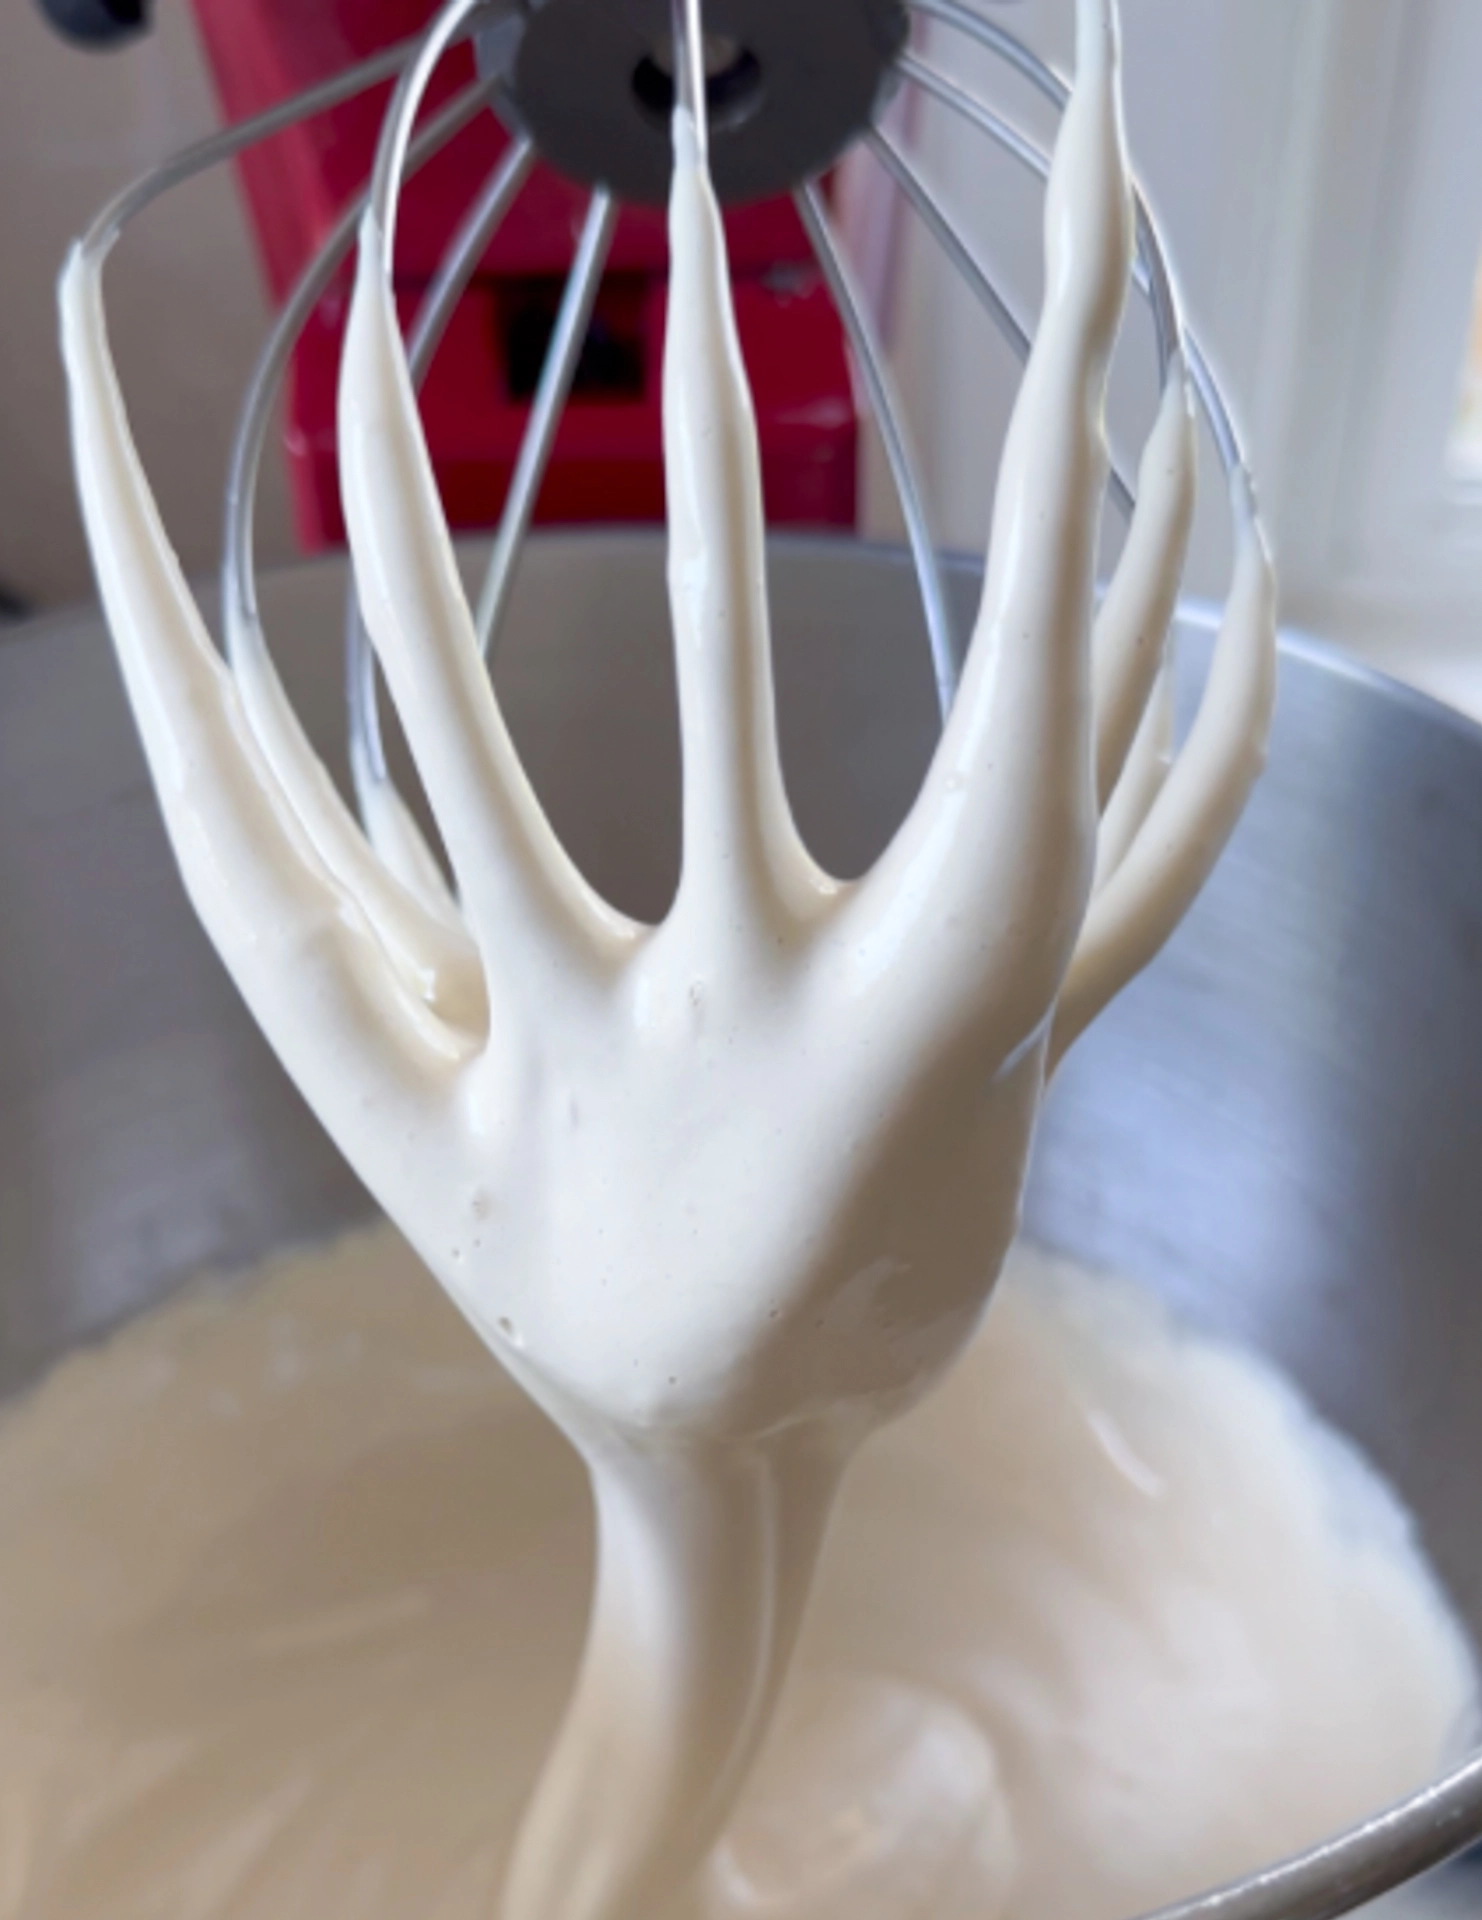
- Start whisking the mixture and slowly increase the speed to medium-high and let it go for about 10 minutes.The mixture will go from dark honey to creamy white and become lighter and creamy when ready.
- Soon after you stop the mixer, use a spatula to transfer the marshmallow creme to your prepared pan.
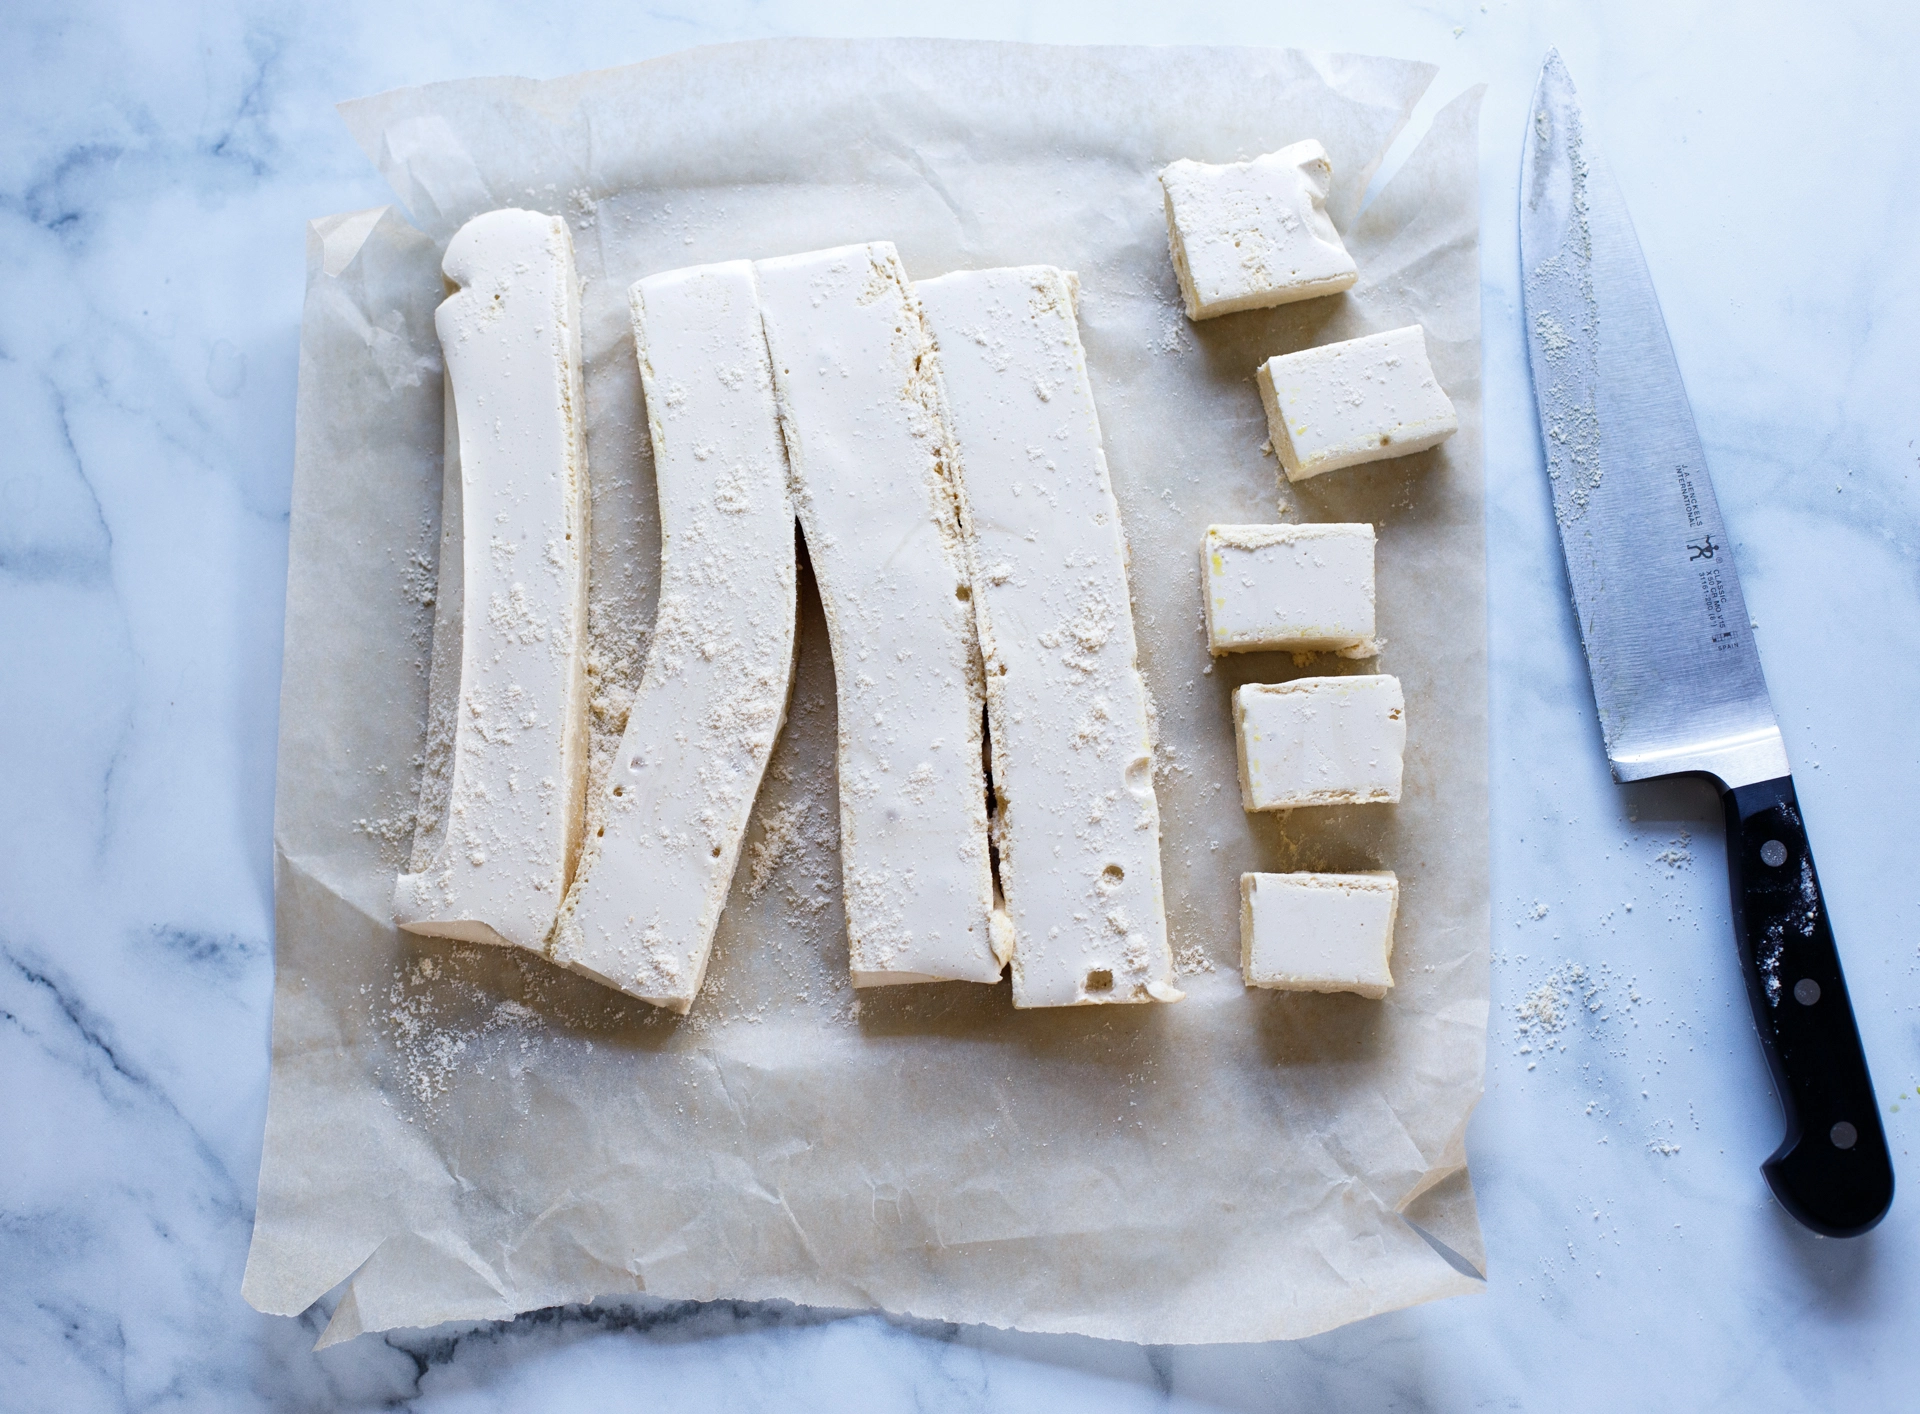
- Cool and let the marshmallows set for about 6 hours at room temperature. When you can move the marshmallow edges away from the parchment paper, you're ready to slice up the marshmallows.
- Life the parchment paper out of the pan. To slice the marshmallows, either grease the edge of a sharp knife with oil or dust it with coconut flour. You'll have to repeat a few times as you slice them.
- Serve immediately or store in an airtight container for a few weeks at room temperature or in the refrigerator. I layer them with parchment paper and coat them with coconut flour before storing them.
Jahaira Luzzi says
Hi Erica. Might you know if there is any benefit to using beef gelatin powder over Knox? Will both work in the is recipe equally well?
Hi Jahaira, both work. Knox seems to be made from pork, so if you prefer beef, then that might be a consideration.
Charity West says
This is a fool proof recipe. I didn’t use a candy thermometer. Instead of using a water I used a marshmallow root, raspberry tea & hibiscus infusion. I was hoping it would turn out pink, unfortunately it didn’t. Next time I’ll try some beet powder for colour. The marshmallows were forming stiff peaks by 7minutes. Used arrowroot to dust. Set really quickly (within 1.5 hours) and tastes delicious. Thank you. I look forward to trying more of your recipes.
Thanks, Charity! Love the idea of hibiscus. I've never used marshmallow root, and I'm guessing you created an infused "tea" which sounds amazing. Yes, beetroot powder (which I want to try) or food coloring are ways that I know of to really turn the marshmallows pink.
Deb P says
Can these marshmallows be used to make rice crispy treats?
Hi Deb, yes you can absolutely use this to make rice crispy treats.
Virginia Warren says
Love this with the Mexican Hot Chocolate.
Thanks, Virginia, me too!
Rachel Sowards says
We dust our marshmallows in cocoa powder. Yum!
Yum, indeed!
Kristi McCollom says
Why haven’t I thought to do that?! Great idea