
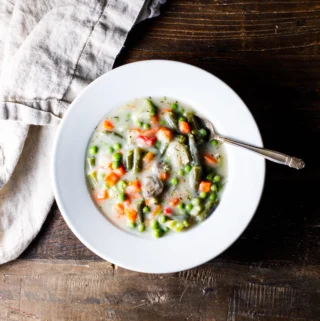
This was going to be just cherry pie, but then I had a few raspberries left over, and a plum, and a peach, that were all on there last healthy leg. So, it became a party in the pie filling.
It’s still a cherry pie, but the extra fruit gave it a slightly fuller flavor and texture. I’m using a crust made out of almond flour (this means it’s gluten-free), and I make the filling separately from the crust and then combine the two at the end for a quick finishing bake. This technique preserves the pie crust and avoids burnt edges since honey and almond flour tend to bake quickly. It also allows me to thicken the filling naturally – by cooking off some of the moisture.
Oh, the plate is messy because this was my second slice. I ate the first slice and then realized I didn’t take a shot of it yet.


I made this for my son’s birthday with fresh tart cherries that we had picked locally. I think perhaps the fact that they were fresh and tart (instead of frozen sweet cherries) affected the recipe – I let it simmer for 2 hours and although some liquid evaporated, they never thickened down to anything close to a pie-filling texture. I finally added in some grassfed beef gelatin, which helped. By that point, it was past midnight, so I decided to refrigerate the pie with the top crust rolled out and bake it the next morning. Because the filling was so cold, the middle of the top crust never really baked/browned – even with an extra 15 min baking time, although the edges got pretty dark (I did cover them halfway through). I’m sure that if I had followed your recipe without those changes, it would have turned out beautifully, and the flavor was fabulous despite the little bumps in the process. Thank you for the GAPS friendly recipes!!
I have been looking for a pie crust recipe. Found you on Pinterest.
One question…can I use Stevia instead of honey?
Hi Fran. Wow, that’s a tough one. I can’t seem to find a “real” bread recipe that doesn’t use baking soda. Try this one: http://scdrecipe.com/recipes-bread/skillet-pita-bread/
Sorry not ‘DAPS’, it’s GAPS
My son is following the DAPS diet which eliminated grain, baking soda and baking powder. Do you know a recipe for bread which could be used for sandwiches and toast?
By the way, your parmesean crackers are delicious!!!
Fran
Actually, baking soda is allowed on GAPS.
Doing great – hope you are too! I know what you mean – I haven’t cooked in a few days.
Oh my goodness!! As soon as it cools down I am baking this! Looks wonderful 🙂
Hope you are doing well!